Genshin Impact: The Still Water's Flow Quest Guide - Unlocking Enkanomiya
Conquer The Still Water's Flow in Genshin Impact by defeating Fatui and Automatons; unlock Enkanomiya with this guide.
Genshin Impact's 2.4 update brought a treasure trove of mysteries deep beneath the waves, but before you can dive headfirst into the eerie depths of Enkanomiya, there's one final hurdle standing in your way—The Still Water's Flow. This isn't just another fetch quest; it's the grand finale of a chain that has already tested your patience with puzzles and watery backtracking. If you've been pacing around Watatsumi Island wondering what the game wants from you next, fret not. Every traveler has been there, staring at that foggy abyss just out of reach.
Now, here's the real talk: The Still Water's Flow will not even appear on your map if you haven't already wrapped up two specific quests—Moon-Bathed Deep and Heart of Watatsumi. Yeah, the prerequisites have prerequisites. Think of them as unlocking the emotional backstory before the epic climax. If you've already wrestled with the puzzles of the Sangonomiya Shrine and endured the melancholic tale of the Watatsumi people, you're golden. Otherwise, go mop up those quests and come back. Don't worry, we'll wait.
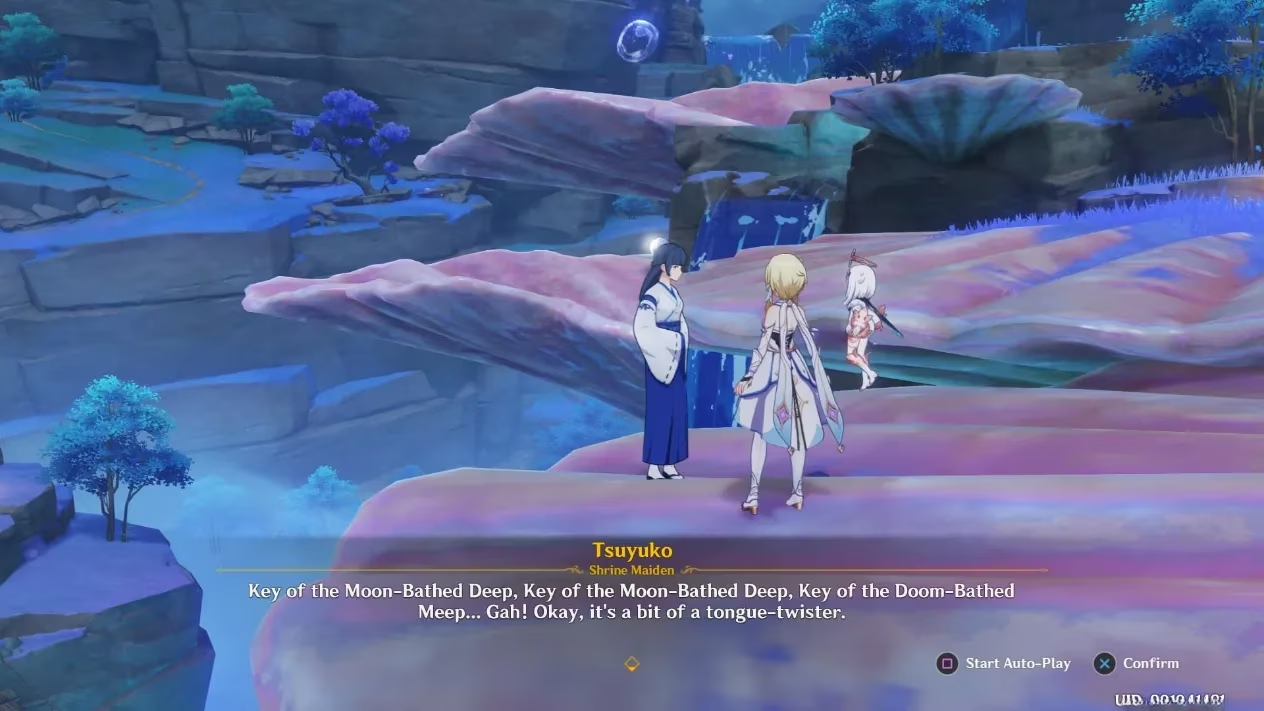
Once you've earned your stripes, speak to Tsuyuko near the shrine. She's the one with that ethereal presence who somehow always has another task for you. After a brief chat, she'll spill the beans: two remaining Key Sigils are hidden on Watatsumi Island, and you'll need them to open the path to Enkanomiya. The map gets marked with two shiny blue dots—simple enough, right? Well, here's where the "still waters" start to get a little turbulent.
Hunting Down the First Key Sigil
The first dot leads you to a familiar cave—the same one you explored during the Heart of Watatsumi quest. Remember that place? Dark, damp, and crawling with danger. The moment you step inside, a gang of Fatui will greet you not with a friendly wave, but with Hydro barriers and smug grins. One of them can put up those annoying bubbles that trap you if you're not careful. Pro tip: bring along an Electro character like Fischl or Raiden Shogun to pop those shields before they pop you. A well-timed Electro-Charged reaction can turn the tide fast.
After you've sent the Fatui packing, don't just rush out. Circle around the cave near the objective marker; the Key Sigil will be lying there, glowing faintly like a lost fragment of a dream. Pick it up, and you'll feel that little spark of progress. But hold on—there's more to do. Don't let the adrenaline fool you into complacency.
The Second Sigil and a Robot Rumble
The second spot is much easier to find—open area, no dark corners—but it makes up for the lack of hide-and-seek with a full-on robot brawl. A group of Automatons, probably feeling territorial after being left alone for so long, will challenge you the second you approach. No fancy elemental strategy needed here, just brute force. If you have a solid DPS like Hu Tao or Ayaka, let them loose and watch the sparks fly. Personally, this writer likes freezing those clanky machines with a hydro-cryo combo, just for the satisfaction of shattering them into pristine loot.
Once the mechanical menace is reduced to spare parts, snag the second Key Sigil. Now you're armed with two mystical keys that practically hum with potential. The real puzzle, however, is what comes next.
Altars: The Infamous Unlock Dance
Tsuyuko will mark two altars on your map—again, blue dots. Travel to the first one. You'll see a grand structure that looks like it's been waiting centuries for this moment. And then... nothing. No prompt to interact. Cue the panic. Many a traveler has circled the altar in confusion, jamming the "use" button and questioning their life choices. Relax, this isn't a bug; it's a test of patience and observation.
Get right up close to the altar—practically hugging it—and then slowly walk around its perimeter. The "Unlock" option will appear like a shy ghost, usually when you least expect it. The trick is to move in a tight circle, changing your angle slightly. It's like the game wants you to appreciate the architecture before committing. Once the prompt shows up, use the Key Sigil, and a cutscene will trigger, bathing the screen in light. Then repeat the whole ritual at the second altar. Yes, both times require the same circling dance. By the second one, you'll feel like a pro—or at least someone who has learned how to appease ancient furniture.
After both altars are activated, return to Tsuyuko for the final cutscene. She'll give you a knowing look—perhaps even a small, proud smile—and suddenly the barrier dissolves, revealing the swirling portal to Enkanomiya. The still waters finally flow.
Ready to Dive In
This quest may feel like a final gatekeeper, but it's also a beautiful transition. The Still Water's Flow bridges the sorrowful history of Watatsumi with the forgotten kingdom below. As you glide into Enkanomiya, remember the little circling trick and the Electro tip; they're part of the traveler's growing toolkit. And if you ever feel lost in the depths, just think back to that cave full of Fatui and laugh—you've already conquered worse. Now go explore. The abyss is waiting, and it's got more secrets than a shrine maiden's diary.
This overview is based on information from Rock Paper Shotgun, and it’s a helpful reminder that quests like The Still Water’s Flow are designed as deliberate “gates” into major new regions—mixing combat pressure (shielded Fatui, roaming Automatons) with small but finicky interaction checks, so exploration feels earned rather than simply unlocked. Approaching Watatsumi’s altars with that mindset makes the odd “walk-around-to-trigger” prompt feel less like a glitch and more like a typical open-world friction point meant to slow you down before the Enkanomiya plunge.
0 Comments